Oh, Hello Again {Roasted Tomato Sauce}

I’m not sure why the desire to post here suddenly gripped me again, but I’m back.  I left for a while because I felt overwhelmed by the quantity and quality of food writing on the Internet, and it started to feel somewhat meaningless to throw little drops into the giant pool.  But really this has always been a way for me to remind myself of things I enjoyed making, because sometimes in my quest to try new things I forget about things I’ve already discovered.  It’s also a reason to take photos and a reason to write about something other than Psychology.  So here I am again.

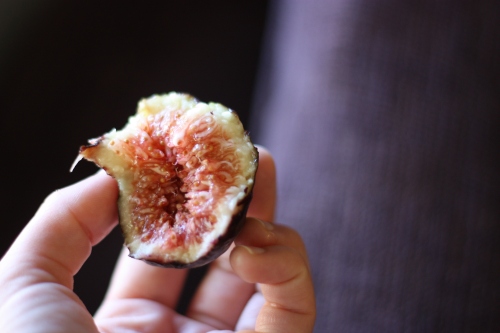
This summer I have felt pretty inspired, food-wise.  A friend and I have been splitting a weekly veggie basket from the UC Davis Student Farm CSA, and though it’s been a little repetitive, it has forced me to cook a lot each week and deal with some vegetables I don’t usually purchase.  We have had beautiful eggplants (globe and Japanese) that I have used to make eggplant parmesan, awesome eggplant-cannellini hummus, and a really awesome casserole with orzo and mozzarella.  I also discovered for the first time that I really enjoy a nice ripe fig.
But my favorite thing about summer produce is the tomatoes.  The best way to eat them is sliced thick with slices of fresh mozzarella and basil, or on toast with a little mayonnaise.  Or in a grilled cheese sandwich.  So good, tomatoes.  But I’ve had so many of them that I need to use them faster than I can eat them raw.  Also, I don’t really like cherry tomatoes raw so I’ve had to find something to do with them.  So, this summer I discovered how ridiculously easy it is to make a really delicious tomato sauce from scratch.

To make the sauce:

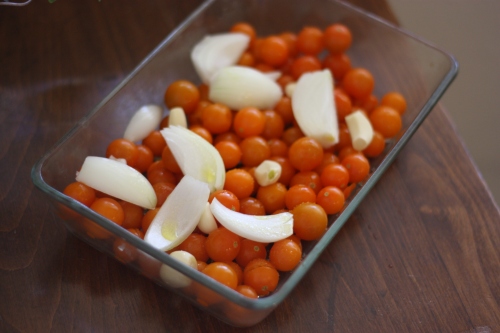
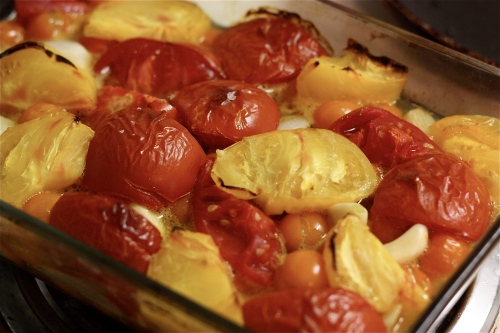
With cherry tomatoes, I don’t cut them in half but I do sort of pierce them so that the juices can run out when they are cooking.  With bigger tomatoes, I cut them into quarters.  I arrange them all into a casserole dish, and stick cloves of garlic and quartered onions in between.  I drizzle the whole thing with olive oil and sprinkle with salt, and then roast them at 375 degrees until they have released their juices and pruned up a bit, 25 minutes or so.  I let them cool a bit, and then move them with a slotted spoon into a big bowl.  I leave about 2/3 of the juice behind because I like my tomato sauce thicker.  Then I add handfuls of basil and parsley, and blend the whole thing with a hand-mixer.  You can also do this in a food processor, or probably a blender.  Then, add salt to taste.  It’s properly salted when it tastes really tomato-y.
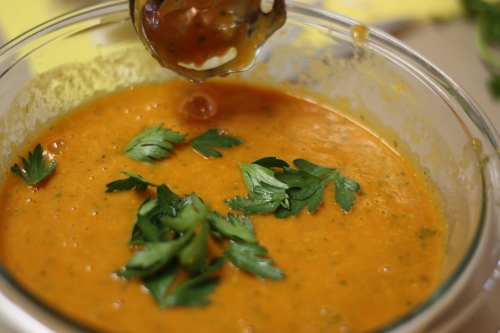
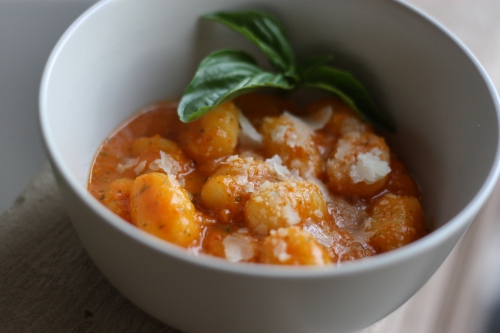
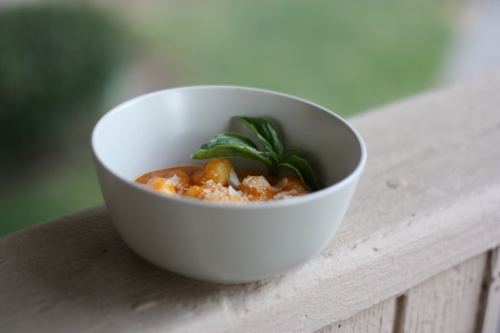
I served mine over gnocchi with a little Parmesan on top.  It was great.

Orange and Brown Butter Pancakes

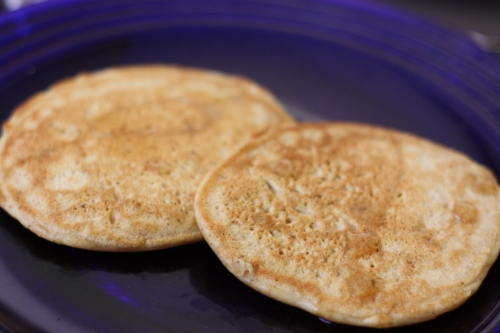
This fall I developed an affinity for pancakes.  I never really cared about pancakes before.  I usually prefer a savory breakfast over something syrupy.  But shortly after I moved into this apartment, I got into the habit of making them on weekend mornings, after sleeping in.  I think they excite me because they feel like a weekend treat, something I don’t have time for on weekdays.  Also, because there are endless varieties of flavors and ingredients to try.  The base ingredients are simple and I usually have them on hand.  Then I experiment with adding some fruit, nuts, or spices that I already have around.  In October, I made predictable pumpkin pecan pancakes, which were predictably good.  I’ve discovered that finely chopped apple in pancakes heats up and softens like apple pie.  And today I made orange brown butter pancakes.  I thought they were excellent, so I want to document the recipe I used.  It is adapted from Joy the Baker.  I used soy milk instead of buttermilk because I had it.  I also substituted half of the all-purpose flour for whole wheat pastry flour.  I find that any of these details can be safely messed with, as long as you keep the proportions similar.

Melt 3 tablespoons butter in a small saucepan over medium heat.  The butter will foam and froth then begin to brown.When the butter solids begin to brown, keep an eye on them so they don’t burn.  Scrape the bottom of the pan with a rubber spatula to pick up the browned bits.  The butter will smell rich and nutty.  Cook until butter bits are brown then remove from the hot pan and place in a small bowl.

Whisk together 1 egg, 1 cup soy milk, 1/2 teaspoon vanilla extract, and 1 teaspoon orange zest.  Whisk in the browned butter.  Set aside.

In a medium bowl, whisk together 1/2 cup all-purpose flour, 1/2 cup whole wheat pastry flour, 1 tablespoon brown sugar, 1 teaspoon baking powder, 1/2 teaspoon baking soda, and 1/2 teaspoon salt.  Add the buttermilk mixture all at once to the dry ingredients.  Stir together with a fork until well incorporated.

Spoon onto a heated, greased skillet.  This time I used a cast iron skillet sprayed with non-stick cooking spray.  You know the rest.

Chocolate Chip Pumpkin Bread

I really love pumpkin, a lot.  I don’t really have much more to say about that.

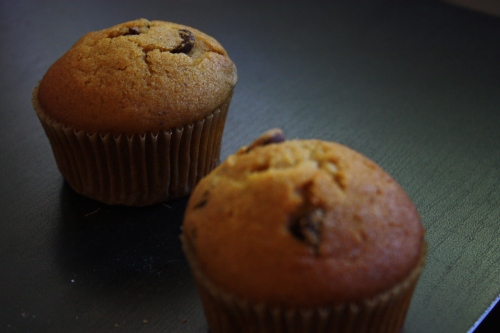
I made chocolate chip pumpkin bread yesterday, because I had a place to bring it (Shannon’s halloween party), because I know it is Christine’s favorite, and because I love chocolate even more than I love pumpkin.  There is a part of me that feels putting chocolate in pumpkin baked goods is excessive and may distract from the pumpkin, but the other part of me decided that I could make that chocolate-less pumpkin bread some other time.

There are a billion pumpkin bread recipes on the internet, but hey, here’s another one for your enjoyment.  I used this recipe and amended it a bit.  3 cups of sugar seemed crazy so I used 2.5, but I think even 2 would have been fine.  I’m not a fan of super-sweet quick breads.  I also tossed some allspice in there because I had it.  And chocolate chips, of course.  I also made both a loaf and muffins.  They were awesome.

Chocolate Chip Pumpkin Bread/Muffins
1 15 oz can of pumpkin puree
4 eggs
1 cup vegetable oil
2/3 cup water
2 1/2 cups white sugar
3 1/2 cups all-purpose flour
2 teaspoons baking soda
1 1/2 teaspoons salt
1 teaspoon ground cinnamon
1 teaspoon ground nutmeg
1/2 teaspoon ground cloves
1/4 teaspoon ground ginger
1/8 teaspoon allspice
chocolate chips (however many you like)

Preheat oven to 350 degrees. Grease and flour either 2 loaf pans, or 1 loaf pan and 1 muffin tin.  

In a large bowl, mix together pumpkin puree, eggs, oil, water and sugar until well blended. In a separate bowl, whisk together the flour, baking soda, salt, cinnamon, nutmeg, cloves, ginger, and allspice. Stir the dry ingredients into the pumpkin mixture until just blended. Pour into the prepared pans.

Bake muffins for about 25 minutes, and the bread for about 50 minutes.  Check them frequently for doneness; they are done when a toothpick or sharp knife inserted into the bread comes out clean.  

Roasted Pumpkin Seeds

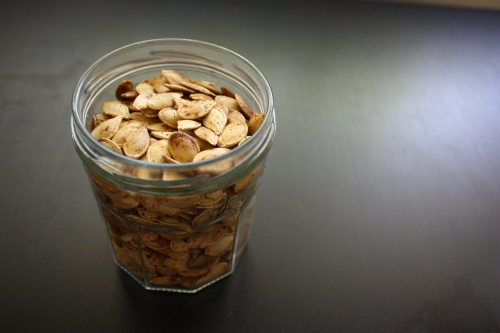
I’m documenting this because they turned out better than my last few attempts. Last night was pumpkin carving with Nesrin (her first time!), and we saved the seeds.  We also made this soup  which was really, really good.  It feels like Fall!

Roasted Pumpkin Seeds
Separate seeds from pulp, and rinse.  Boil the seeds in salted water for 10 minutes, then drain.  Coat a pan lightly with olive oil, and spread seeds in pan.  Shake it a bit to coat the seeds.  The seeds should form one layer.  Sprinkle with sea salt, cayenne pepper, and paprika.  Bake in oven at 350 degrees for about 30 minutes, stirring occasionally, until nicely browned.  Let them cool before eating.

Carrot and Chickpea Soup

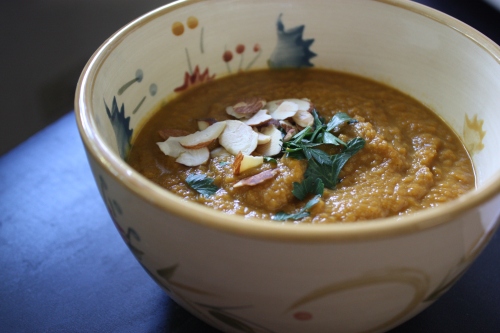
Two days ago I completed my Written exam, and yesterday I found out I passed!   There are so many things I withheld from myself this summer, particularly in the last month before the exam.  I moved into a new apartment September 1st, but I didn’t allow myself to really put the apartment together, because I knew it would be an absorbing activity that would take too much of my time.  Also, I haven’t been cooking.  I mean, I’ve been feeding myself, but there has been more macaroni and cheese than I want to think about.  And I certainly haven’t been taking any photos of it.  So, when I finished the exam, rather than laying down, I launched into a frenzy of moving furniture around, unpacking boxes, and looking through cookbooks.  I bought a new cookbook at the Borders liquidation sale earlier in the summer, but hadn’t had a chance to cook from it yet.  It is The Food Matters Cookbook by Mark Bittman.  I decided that my first meal would be a soup.  All of September, I sweated in my apartment under a pile of articles, wondering why it hadn’t cooled off yet.  Fall finally showed up just in time for my exam, and I had to put on a sweatshirt.  It even rained a bit.  Also, I recently bought myself an immersion blender, and I wanted to put it to use.  So, I chose a creamy carrot and chickpea soup, with Spain-inspired flavors.  It turned out really tasty, but it gave me some trouble.  For some reason, soaking the chickpeas was described as an optional step in the instructions.  I can now tell you with certainty that this is not optional, unless you have 5 hours to spend cooking the soup.  It ended up being a two-day endeavor for me, as the chickpeas were still not soft yesterday evening after 4 hours of cooking.  So, in the end, this is a great soup, especially garnished with toasted almonds and a little flat-leaf parsley.  It’s warming and richly flavored with orange, cumin and paprika, which taste like Spain.  It’s good to be cooking again!

Carrot and Chickpea Soup
(from The Food Matters Cookbook by Mark Bittman)

1/4 cup olive oil
2 onions, chopped
1 pound carrots, chopped
2 tablespoons minced garlic
salt and black pepper
2 teaspoons cumin
2 teaspoons paprika
6 cups veggie or chicken stock
1 cup dried chickpeas, soaked overnight
1 cup orange juice
1/4 cup chopped almonds, for garnish
chopped fresh parsley, for garnish 

1. Put the oil in a large pot, and add the onions, carrots, and garlic and sprinkle with salt and pepper.  Cook, stirring occasionally and adjusting the heat as needed to keep the vegetables from burning, until the onions and carrots have colored, about 10 to 15 minutes.  Add the cumin and paprika and cook, stirring, another 30 seconds.
2. Add the stock and chickpeas.  Bring to a boil, then turn the heat down so the mixture bubbles gently but steadily.  Cook, stirring occasionally, until the chickpeas are very soft, at least 1 hour; add more liquid as necessary so the mixture remains soupy. **As I mentioned, this part took me considerably longer.  I imagine if you soak the beans first, this time estimate is correct.**
3. When the chickpeas are very tender, add the orange juice, then taste and adjust the seasoning.  Carefully puree the soup with immersion blender.  Serve garnished with almonds and parsley.

Sesame Noodles with Tofu and Basil

I cook for myself most nights, but it’s usually not pretty.  I generally throw together some mixture of vegetables, grains and protein (sometimes meat, but usually not), season it lightly and call it a meal.  I don’t blog about these meals because they aren’t particularly inspired, even when they taste good, and I try to make this space an archive of things worth remembering.

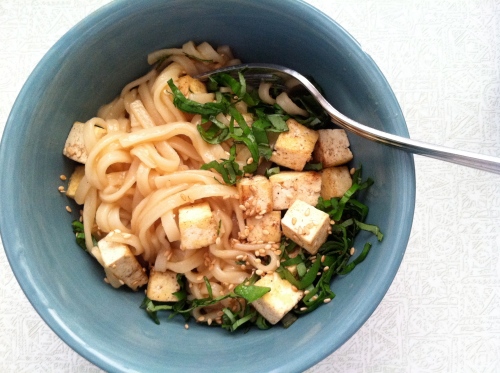
This was the same sort of meal- composed of things I had around, with very little planning.  But, it was easy and tasty and- pretty (I think).  I took these photos on my new iphone.

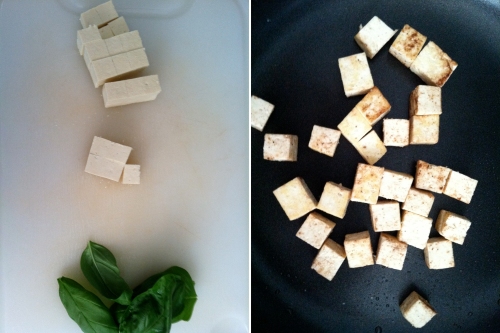
This was inspired by a dish that Dana brought to a lab picnic a few weeks ago. Hers was angel hair pasta tossed with sesame oil and soy sauce, and topped with shreds of basil and black sesame seeds. For mine, I added tofu lightly pan-fried with Chinese 5-spice. I used udon noodles because I had them, but it would have worked much better with soba or just spaghetti. And, I used some of the basil that is growing prolifically in my backyard.  And here it goes into the blog, because I think it is worth remembering and making again.

Sesame Noodles with Tofu and Basil

Boil soba or spaghetti or noodle of your choice.  While noodles are cooking, cut tofu into small cubes.  Heat a small amount of peanut oil over medium-high heat in pan.  Add tofu cubes, and season with salt and 5-spice. Toss occasionally, and remove from heat when they are lightly browned.  When noodles are cooked, drain, and add a bit of soy sauce, and a very small bit of sesame oil.  A little bit of sesame oil goes a long way, so be careful with this. Put noodles in serving bowl, and top with tofu, shredded basil, and sesame seeds.


Buckwheat Chocolate Chip Cookies

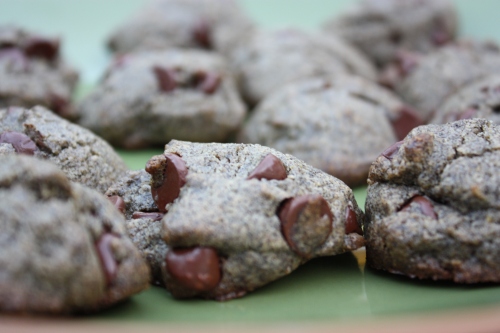
I believe I have a favorite cookie.  Last week, when Jeremy’s girlfriend Ali was visiting, they made chocolate chip buckwheat cookies , and were kind enough to share with me.  They were really good.  I asked Ali for the recipe, which she sent to me, and I made them again tonight.

Buckwheat has an earthy, distinctive flavor that carries the cookie.  Contrary to it’s name, buckwheat is not related to wheat.  Buckwheat’s wikipedia article emphasizes that it is neither a cereal nor a grass, and belongs to a family known as the pseudocereals, inhabited also by quinoa and chia.

I made these cookies with about half the sugar recommended, and they came out perfectly.  I appreciate how the dark, nutty flavor of the slightly sweet cookie contrasts with the sharp sweetness of the chocolate chips.  The cookies are dense but pleasantly crumbly, and are best eaten with milk or the beverage of your choice.

The recipe I used is adapted from this one.  I was not concerned with keeping them gluten-free, so my recipe uses different flours, and different quantities of sugar and chocolate chips as well.

Buckwheat Chocolate Chip Cookies

1 cup buckwheat flour
1 cup whole wheat pastry flour
1 shy cup vegetable oil
1 1/2 teaspoons baking powder
1 teaspoon salt
3/4 cup brown sugar
1 teaspoon vanilla
1/2 teaspoon water
2 eggs
1 1/2 cups chocolate chips

Combine flours, baking powder, and salt.

Combine oil, sugar, vanilla, and water and beat until creamy.  Add the eggs, and beat until blended.

Gradually add the flour mixture, mixing well.  Stir in chocolate chips.  Mix until combined.  The dough will be thick.

Drop spoonfuls onto a baking sheet lined with parchment paper.  Bake at  375°F for 10-12 minutes.  Mine were done after 10.  Cool on a baking rack before enjoying.

I put most of my dough into the freezer to take out and bake as needed.

Jen’s Grilled Pizza

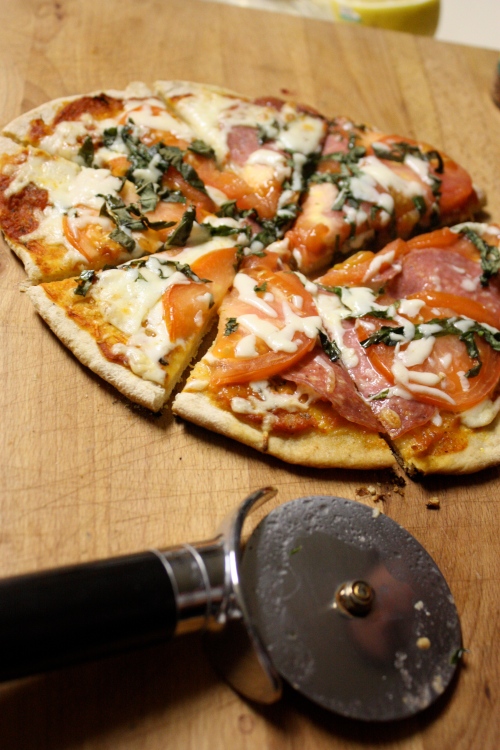
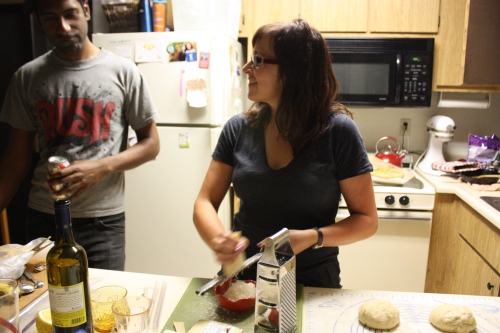
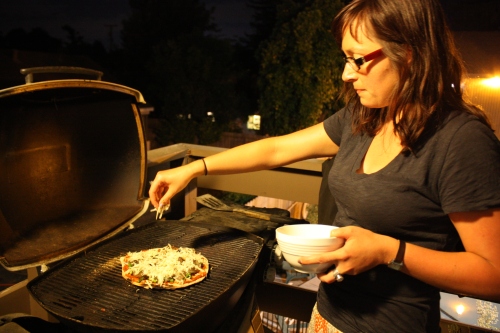
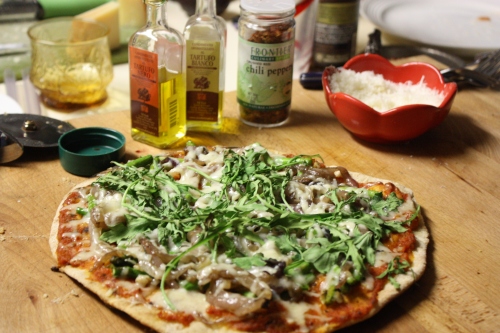
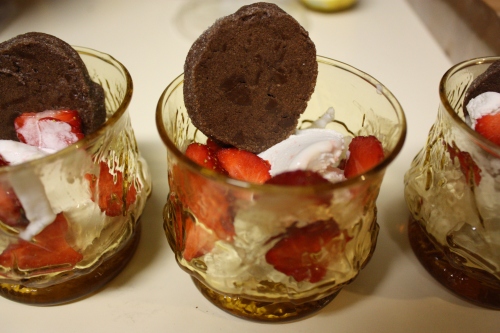
This is a tribute to an awesome dinner put together by Jen (and a really nice evening).  It included 4 kinds of grilled pizza, a big leafy salad, and vanilla coconut ice cream with homemade chocolate sables and strawberries for dessert.  It was really, really good, which I think is pretty well reflected in these photos.  It made me consider getting a grill, just for making pizza.  I like my crust really crispy, and on the thin side, and this was really perfect.  At the bottom is the recipe for the dough that Jen has kindly provided.

I would also like to express my sadness that Jen is leaving us for Texas shortly.  I will miss my cooking buddy, but I’m excited to see how the region incorporates itself into her culinary repertoire.

Here are the recipe and comments provided by Jen.

Pizza Dough  Adapted from The Olive Harvest Cookbook: Olive Oil Lore and Recipes from the McEvoy Ranch

Sponge:
½ C lukewarm water
2 tsp active dry yeast
½ rye flour or whole-wheat (I used whole-wheat)

Place ingredients for sponge in a large deep bowl. Mix well. Cover and leave in a
warm place until very bubbly, 20-30 min.

Then add to sponge:
¾ C lukewarm water
3 Tbsp extra virgin olive oil
1 tsp sea salt
3 ¼ C unbleached all-purpose flour (plus extra if needed)

Knead until smooth and elastic (I did this with my kitchen-aid dough-hook for about 5 minutes). The dough should be moist, but not sticky. Put in oiled bowl and let rise until doubled in a warm place ( about 1 hr).

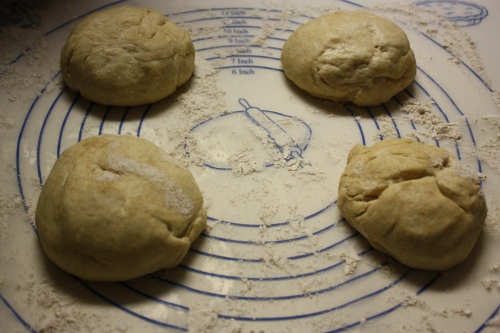
Punch down the dough and let rest for about 20 min. Transfer to a lightly floured work surface and divide in half. Make 2 smooth balls. Let rest about 15 min.

Roll out thinly and put on a baking sheet covered in cornmeal. Slide onto grill (on low flame) and let cook until you can pick the dough up with tongs. Flip the crust at this point and put your toppings on. Close the grill lid until the cheese has melted.

Let cool a few minutes off the grill before cutting.

My modification to this recipe was to subtract 2 Tbsp water and add 2 Tbsp olive oil so that the dough doesn’t stick to the grill!  The recipe here includes this modification.

Spring Onion and Yellow Squash Galette

Last week, I was trying to come up with an appetizer to bring to dinner at Jen and Zack’s.  I was at the Nugget and the typical almost-too-friendly bagger starting gleefully naming things he would make now that cherry season has begun.  One of the things was a galette (the first time I heard it spoken aloud, though I’ve been seeing recipes for them for a while).  This inspired me, and I looked for a recipe.  I found one in Alice Waters’ The Art of Simple Food.  It describes in beautiful, simple language the intricacies of creating a perfect tart crust.

So the trick to proper tart dough is to handle it as little as possible.  For one galette, I started with 1 cup of all-purpose flour, and cut in 3/4 of a stick of butter.  The butter needs to be cold.  I used a pastry cutter, but if you combine with your fingers, use the tips of your fingers and not the warm palms of your hand.  You don’t want the butter to melt in the flour.  Combine until the mix is crumbly, with large-ish pieces of butter left in.  Mix in about 1/4 cup of ice water, slowly, and push the dough together with a fork.  Add just enough water for the dough to form large clumps.  Bring the dough together and form a ball.  The dough should not be too moist or sticky.  Wrap the dough in plastic and flatten into a disc.  Let it sit in the fridge for at least an hour.

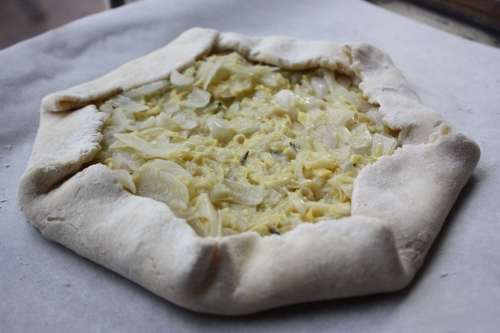
When ready to prepare, roll out the dough to a thickness of about 1/8 inch, rolling from the center of the circle outward.  Fill it with pretty much anything you like.  It is best to use a layer of filling that is about twice as thick as the crust.  Spread (or arrange) your filling on the dough, leaving half an inch or so around the edges.  Fold the dough over the filling as pictured.

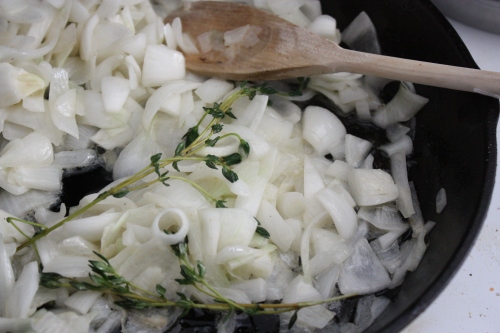
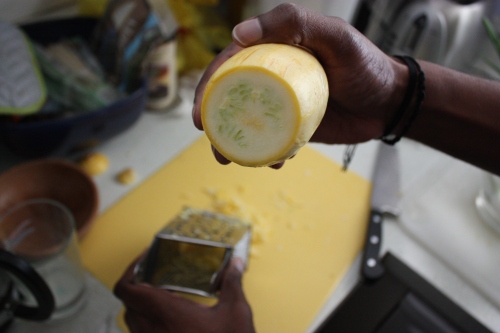
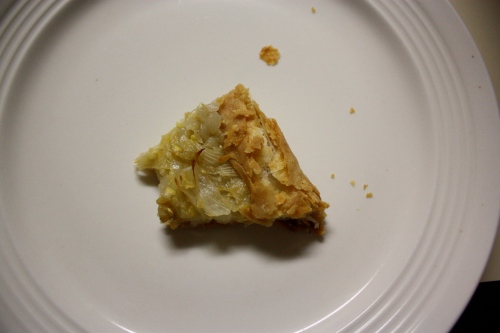
I decided to fill mine with spring onions and grated yellow squash, sauteed in butter with fresh thyme sprigs until soft.  Brian grated the squash, as documented above.

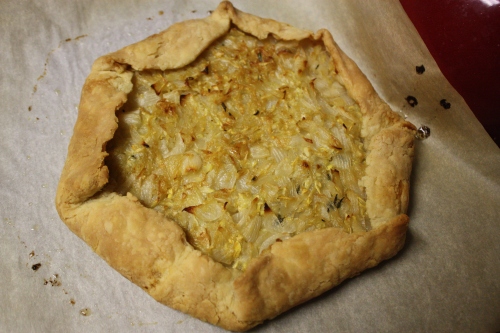
Bake the galette at 350 degrees for 40-50 minutes.  I think I took mine out at 47 minutes.  The crust should look golden and flaky.

I have to say, this galette was pretty awesome.  However, it is not at its best as an appetizer for tons and tons of amazing grilled pizza (which will be the topic of my next post, coming shortly).  I suggest serving it with something light, like salad, because it is not light itself.  I’m excited to fill this crust with other lovely spring things, and perhaps some cheese.  Or fruit.  You should too.

Little Cheesecakes

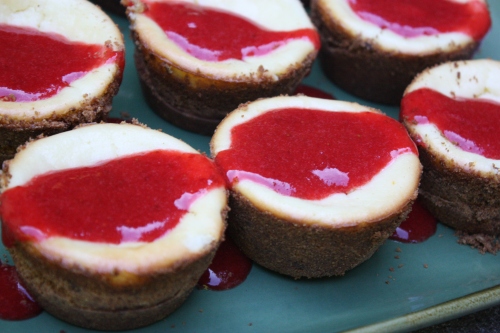
I made these mini cheesecakes to bring to an Easter dinner.  I like them because they are really easy to make (if you have a food processor) and cook really quickly.  They also encourage you to eat a more reasonable amount of cheesecake than you otherwise might.

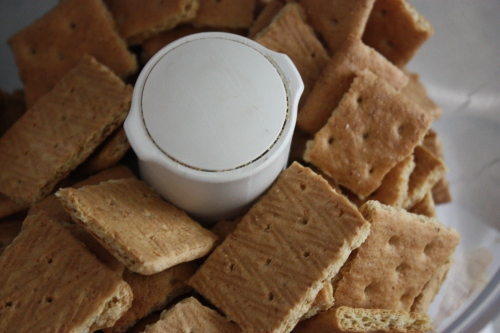
You blend up some graham crackers with chocolate chips and butter…

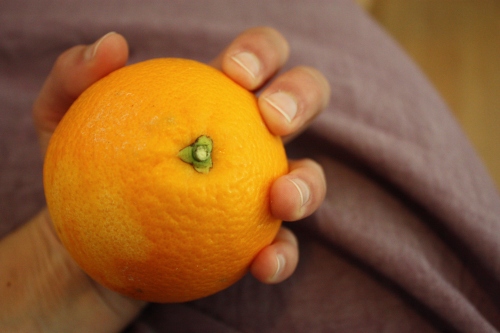
Zest some orange for the cheesecake filling…

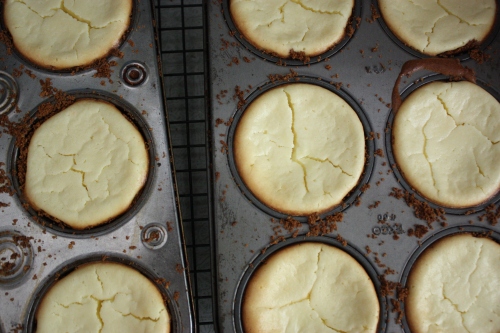
Line cupcake tins with crust, add filling, and bake.

I didn’t make these perfectly.  I think perhaps the recipe is meant for larger cupcake tins; I ended up with twice the crust and filling expected, and didn’t get the proportions right.  These don’t work as well with too much crust; make sure the crust is thick enough to hold the cupcake together, but not so thick that it will be tough to get a fork through when baked.

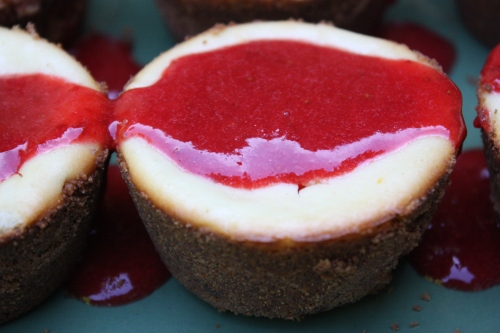
The strawberry sauce makes for a beautiful presentation and is very tasty, but I can see these cheesecakes working with an endless number of other toppings.  Fresh berries of any kind would be really good, or some kind of chocolate situation.

*I am updating this post to clarify that Brian did a lot of the work in creating these cheesecakes.  He blended, he stirred, and he reacted really well when I yelled at him for whacking his fist into the cupcake tins instead of gently patting the crusts into place.

Little Cheesecakes with Strawberry Sauce from Food Network Kitchens Favorite Recipes

10 chocolate graham crackers, broken (do these exist?  I’ve never found chocolate ones, so I just use regular)
1/4 cup semisweet chocolate chips
3 tablespoons unsalted butter, melted
1 lb cream cheese, softened
3/4 cup sugar
2 large eggs
2 teaspoons pure vanilla extract
1 teaspoon grated orange zest
1 cup frozen strawberries
2 tablespoons sugar

Process graham crackers and chocolate chips in a food processor until finely ground.  Add the butter and pulse until the mixture is sandy and moist.  Divide among 6 jumbo muffin cups, then press evenly over the bottoms and about two-thirds of the way up the sides.  Bake until the crusts are set, about 8 minutes.

Pulse the cream cheese, sugar, eggs, vanilla, and orange zest in a food processor until smooth.  Divide evenly among muffin cups.  Bake at 325 degrees for 30 minutes.  Cool the cheesecakes and refrigerate, uncovered, for at least 2 hours.

For the sauce, puree the strawberries with the sugar in the food processor.  When ready to serve, run a knife around the cheesecakes and lift out of pan.  Spoon some sauce over them.